

How to Choose Your Veneer Shade (Without Ending Up Too White)
The VITA and bleach shade scales explained, how to pick a veneer colour that suits your face, why BL1 goes wrong for most patients, and the one sequencing mistake that leaves restorations mismatched.
Almost every veneer patient arrives with a number in their head. Usually it's BL1 — the brightest shade on the bleach scale — because that's what they've seen tagged on Instagram. And almost every one of them ends up choosing something a shade or two warmer once they've seen the options against their own face in daylight.
Shade is the single most emotionally charged decision in a veneer case, and it's also the least reversible. Porcelain colour is fired into the ceramic. You cannot bleach it, polish it, or adjust it later. If the shade is wrong, the fix is remaking the veneers.
Here's how the decision actually works, and how to avoid the two mistakes that account for nearly every unhappy result.
Quick answer
- Veneer shades run on two scales: VITA Classical (natural range, A1 to D4) and the bleach scale (BL4 up to BL1, brighter than any natural tooth).
- Most patients look best somewhere between BL3 and A1. BL1 suits very few faces and photographs harshly.
- Match the shade to the whites of your eyes, not to a photo of someone else's smile.
- Whiten your natural teeth first, let the shade settle two weeks, then match the veneers — never the reverse.
- Ask for a mock-up or trial smile before anything is fired. Seeing it on your own face beats any shade tab.
The two shade scales
Every conversation about veneer colour uses one of two reference systems, and mixing them up is where confusion starts.
The VITA Classical guide is the dental standard for natural teeth. It sorts shades into four hue families — A (reddish-brown), B (reddish-yellow), C (grey), D (reddish-grey) — each with brightness levels. A1 is the brightest natural shade in common use; C4 and D4 are the darkest.
The bleach scale sits above all of it, created because whitening and ceramics can now go brighter than anything that occurs naturally. It runs BL4, BL3, BL2, BL1, with BL1 the brightest available.
| Shade | Where it sits | Reads as | Best for |
|---|---|---|---|
| BL1 | Brightest possible | Unmistakably cosmetic | Stage, film, strong contrast against very dark skin |
| BL2 | Very bright | Noticeably enhanced | Younger patients, high-contrast features |
| BL3 | Bright but plausible | "Great teeth" | The most-requested shade in our practice |
| BL4 | Bright natural | Naturally white | Patients wanting deniability |
| A1 | Brightest natural | Healthy, real | Older patients, single-veneer matching |
| A2 | Natural mid | Average natural tooth | Blending with existing untouched teeth |
There's no clinically "correct" answer on this scale — it's an aesthetic choice. But there are choices that age badly, and BL1 is usually one of them.
Why BL1 goes wrong
BL1 has almost no translucency. Natural enamel is semi-translucent, especially at the incisal edge, where you can often see a faint blue-grey or opalescent quality where light passes through. The brighter and more opaque a ceramic gets, the more that disappears, and the tooth starts reading as a flat white panel rather than a tooth.
Three things then happen:
- The contrast with your eyes breaks. Human eyes read teeth relative to the sclera. When teeth are brighter than the whites of the eyes, the brain flags something as off even if the viewer can't say what.
- Photography exaggerates it. Phone cameras clip highlights. A shade that looks strong in the mirror can blow out to a solid white rectangle in a flash photo.
- It ages poorly. Skin loses contrast and gains warmth with age; teeth that were merely bright at 30 can look startling at 50.
This is why we ask patients to look at shade tabs in natural daylight, next to their own face, rather than under the clinic's overhead light — which is brighter and cooler than nearly any real-world setting.
How to actually choose
The eye-white rule gets you within a band. These factors narrow it further:
Skin tone and contrast. Deeper skin tones support brighter shades because the contrast is flattering rather than jarring. Very fair skin with cool undertones is where BL1 and BL2 look artificial fastest.
Your age. Teeth naturally darken and become more saturated over a lifetime. A shade that reads as healthy on a 25-year-old can read as obviously purchased on a 60-year-old. This isn't about settling — it's that the eye calibrates tooth colour against facial ageing.
Hair and eye colour. Warm colouring (golden or auburn hair, brown eyes) generally pairs better with shades carrying a little warmth — BL4 or A1 — than with the cold blue-whites at the top of the scale.
How many teeth you're doing. This one is decisive. If you're veneering only your front six or eight, the new teeth must live alongside your natural ones, and the shade ceiling is set by what your remaining teeth can be whitened to. Push brighter and the untouched teeth beside them look dingy by comparison. If you're doing a full set of ten or twelve, you're free to set any shade you like. Our guide on how many veneers you actually need walks through where that line falls for most smiles.
The material. Shade behaves differently across materials — the layering and translucency achievable in porcelain versus composite is not the same, and high-strength zirconia is more opaque than feldspathic porcelain. Your material choice constrains how lifelike a bright shade can look.
The sequencing mistake
This is the error that generates the most remakes, and it costs nothing to avoid.
Whiten your natural teeth before the veneers are made, not after.
Veneers do not respond to whitening gel. Ever. The porcelain shade is permanent. So if you have veneers made to match your current teeth and then whiten later, your natural teeth get brighter and your veneers stay put — and you've manufactured exactly the mismatch you were trying to avoid.
The correct order:
- Treat any decay or gum disease first.
- Professional whitening on the natural teeth.
- Wait about two weeks. Freshly whitened teeth are temporarily dehydrated and read lighter than their true settled shade. Matching during this window means matching to a colour that won't last.
- Record the stabilized shade.
- Design and fabricate the veneers to that baseline.
That two-week pause is the step patients most want to skip, especially when they've flown in for a short trip. It's also the step that makes the difference between a match and a near-miss. Our teeth whitening guide covers what whitening can and can't shift beforehand.
Ask for a mock-up
No shade tab held next to your face tells you what a finished smile looks like, because shade interacts with tooth shape, length, and how much of the tooth your lip reveals when you talk.
A trial smile — a temporary resin mock-up placed directly over your teeth, no drilling — lets you see proposed shape and shade together for an hour, walk to a window, take photos, and change your mind while changing your mind is still free. We do this before any preparation begins.
Two things to do during a mock-up:
- Photograph it in three lighting conditions: daylight, indoor lamp, and phone flash. Flash is the harshest and the most revealing.
- Show someone who knows your face. People close to you notice "different" faster than you will in a mirror you've been staring at for an hour.
When brighter is the right call
None of this is an argument that bright is bad. There are real cases for the top of the scale:
- Deep skin tones, where BL2 or BL1 can look striking rather than artificial.
- Performers and public speakers working under stage lighting that washes out warmer shades.
- Full-mouth cases where nothing natural remains for comparison, so internal consistency is all that matters.
- Patients who simply want an obviously cosmetic result and are clear-eyed about it. That's a legitimate preference, and our job is to make sure it's an informed one rather than a surprise.
What we push back on is choosing BL1 by default because it's the highest number on the chart. Brightest is not best; suited is best.
What we do at the clinic
For international patients the shade conversation starts before you fly:
- Virtual consult. You send photos in natural light. We give an honest read on the realistic shade range for your face and how many veneers your case actually needs.
- In-person shade session. Tabs against your face, at a window, with your input recorded. We photograph every candidate shade beside your teeth.
- Whitening first if needed, with the two-week settle built into your trip plan.
- Trial smile. Shape and shade previewed on your own teeth before any preparation.
- Fabrication and fit. Final check under multiple lighting conditions before cementation.
Full pricing and what's included is on our veneers in Medellín page, and the trip structure is laid out in the veneer package. Para pacientes hispanohablantes, tenemos información completa sobre carillas dentales y específicamente sobre carillas de porcelana.
The bottom line
Pick the shade that makes your teeth look like excellent versions of your own, not like someone else's. Use the whites of your eyes as your ceiling, whiten before you match rather than after, and insist on seeing a mock-up on your own face in daylight before anything is fired.
Shade is permanent, but the decision doesn't have to be rushed. Any clinic unwilling to spend twenty minutes at a window with a shade guide and your face is telling you how the rest of the case will go.
Next step
Send us a photo of your smile in natural daylight on WhatsApp and we'll come back with an honest read on the shade range that would suit your face, how many veneers your case needs, and total cost. If we think you'd be happier a shade warmer than you're asking for, we'll say so. Free, no obligation — or reach us through our contact page.
More from our blog.

Multiple Dental Implants vs All-on-4: Where the Tipping Point Really Is
Several failing teeth on one arch? How individual implants and All-on-4 compare on cost, healthy teeth, bone, trips and long-term risk, with the real per-arch math at Colombia Care Dental and the cases where each one is the wrong answer.

Veneers vs Invisalign for Crooked or Gapped Teeth: Which Should You Choose?
Veneers can make crooked or gapped teeth look straight in a week. Aligners actually move them. Here's when each is the right call, what each costs, and when the honest answer is to do both, in that order.
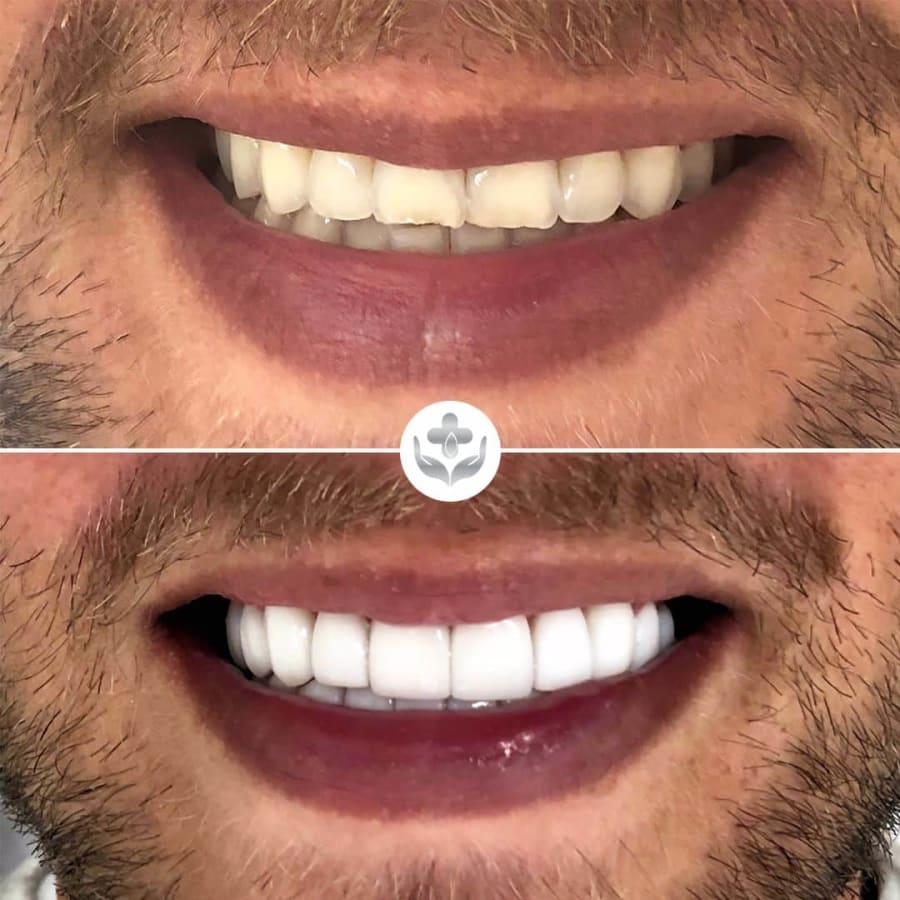
Gum Contouring Before Veneers: When You Need It (and When You Don't)
Uneven or 'gummy' gumlines can make even perfect veneers look off. Here's when gum contouring actually helps, what it costs in Colombia, how healing fits a veneers trip, and when it's the wrong fix.